Tartar And Plaque:Remove Methods Without A Dentist
Tartar and plaque, known as dental calculus, form on teeth when plaque accumulates and starts to harden. Not only is tartar visually unappealing, but it

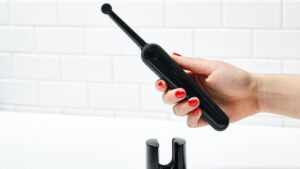
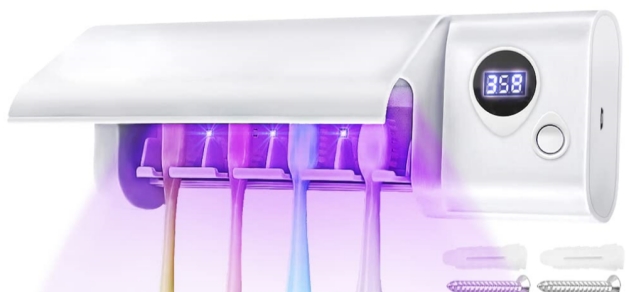
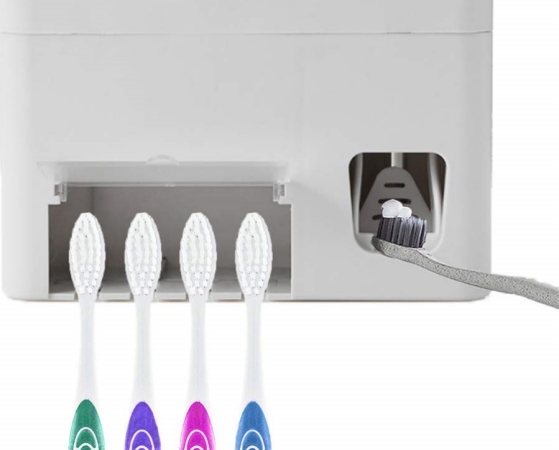
In the world of dental hygiene, keeping your toothbrush clean is a top priority. With the rise of toothbrush sanitizers, ensuring that your toothbrush remains free of germs has never been easier. But why stop at basic sanitation when you can add a touch of innovation?
In this comprehensive guide, we’ll explore how to create a toothbrush sanitizer with a UV disinfection system sound prompt that’s not only functional but also fun to use. Let’s dive into this exciting DIY project and make your daily oral care routine a bit more high-tech!
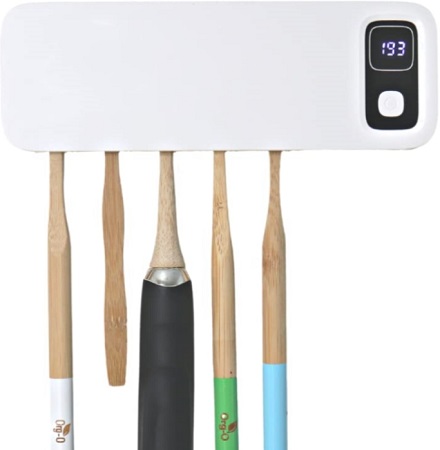
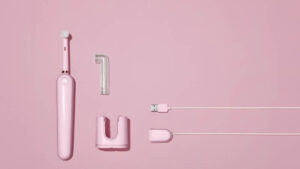
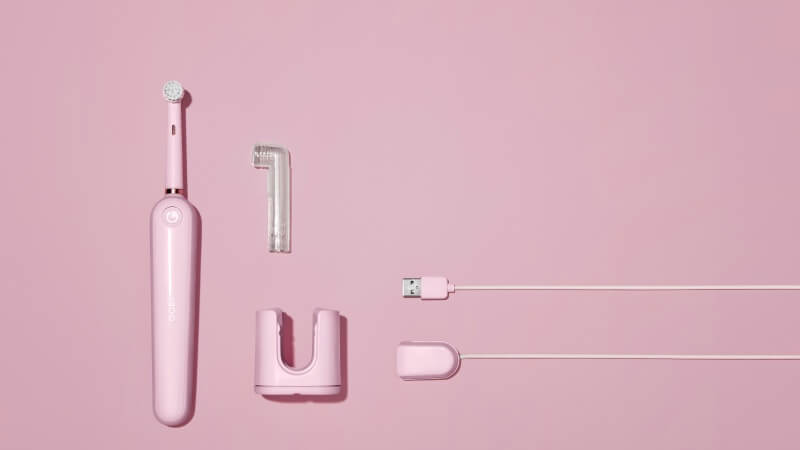
Before we delve into the world of UV disinfection systems and sound prompts, let’s start with the basics of toothbrush sanitizers. These nifty devices use UV-C light to kill germs and bacteria that can accumulate on your toothbrush over time. A clean toothbrush can help reduce the risk of oral health issues and infections.
UV-C light has been proven effective at neutralizing harmful microorganisms. It works by breaking down their DNA, rendering them unable to reproduce or cause harm. This technology has been widely adopted in various applications, including toothbrush sanitizers.
Understanding the power of UV-C light is fundamental to appreciating the significance of our DIY project. It’s the magic behind a cleaner, healthier toothbrush.
Now, let’s introduce a fun twist to our toothbrush sanitizer project. We’ll incorporate a sound prompt system that not only signals when your toothbrush is clean but also adds a touch of tech-savvy flair to your daily routine.
To start this DIY project, you’ll need:
Adding a sound prompt to your toothbrush sanitizer brings several advantages to your daily oral care routine:
The combination of UV-C technology and the sound prompt creates a synergy that elevates your toothbrush sanitization experience.
To understand the science behind UV-C technology, let’s take a closer look at how it works.
UV-C light, specifically in the 254-nanometer wavelength range, has a unique ability to disrupt the DNA of microorganisms. When exposed to UV-C light, the genetic material of these tiny invaders is damaged, preventing them from reproducing and causing infections.
This is the very science that makes UV-C technology a robust choice for sanitization. It doesn’t just clean; it eradicates potential threats.
UV-C technology is safe when used appropriately. It does not involve chemicals, making it an environmentally friendly choice for sanitization. Moreover, it’s highly effective, with a proven track record of eliminating bacteria, viruses, and fungi.
Understanding the safety and effectiveness of UV-C light ensures that you can confidently implement it in your DIY project.
As you embark on your journey to create a toothbrush sanitizer with a UV disinfection system sound prompt, here are some additional tips and tricks to ensure a successful project:
Research Microcontrollers
Before selecting a microcontroller, research various options available in the market. Consider factors like ease of use, compatibility with your toothbrush sanitizer, and the availability of online resources and tutorials.
Choosing the right microcontroller is crucial as it forms the core of your sound prompt system.
Customize Your Sound Prompt
Get creative with your sound prompt. You can choose from a wide range of tones and melodies. Consider incorporating friendly reminders or motivational messages to make your daily routine more enjoyable.
Personalizing your sound prompt makes your toothbrush sanitizer unique and tailored to your preferences.
Safety First
When working with electronic components, prioritize safety. Disconnect power sources when making connections or adjustments, and avoid exposing sensitive parts to moisture.
Safety is paramount, ensuring that your project remains trouble-free and risk-free.
Seek Online Communities
Online communities and forums dedicated to DIY projects can be valuable resources. You can find advice, troubleshooting tips, and inspiration from fellow enthusiasts.
Connecting with like-minded individuals can provide invaluable insights and support throughout your project.
Document Your Project
Keep a detailed record of your project, including the components used, wiring diagrams, and the code you’ve written. This documentation will come in handy if you decide to modify or replicate the project in the future.
Documenting your project preserves the knowledge gained and simplifies future enhancements or iterations.
In conclusion, creating a toothbrush sanitizer with a UV disinfection system sound prompt is a delightful DIY project that combines hygiene with technology.
It’s a fun way to ensure your toothbrush remains clean while adding a touch of innovation to your daily routine. So, embrace this creative endeavor, and let the soothing sound of cleanliness enhance your oral care journey with your very own UV disinfection system-equipped toothbrush sanitizer.
Whether you opt for a cheerful melody or a motivational message, the added assurance and engagement will make your daily oral care routine something to look forward to. Happy sanitizing!
By combining technology, science, and a dash of creativity, you’ve taken your oral hygiene to a new level, proving that even the simplest of routines can become extraordinary with a DIY twist.
So, as you enjoy the benefits of your UV disinfection system sound prompt toothbrush sanitizer, remember that innovation can be found in the most unexpected places—even in your bathroom!
So, why wait? It’s time to embark on your DIY journey, create your customized toothbrush sanitizer, and enjoy a cleaner, safer, and more engaging oral care routine. Your smile will thank you, and your friends might just be a little envious of your high-tech bathroom gadget! Happy DIY-ing!
Can I use any toothbrush sanitizer for this DIY project?
While many toothbrush sanitizers on the market can potentially be modified to include a sound prompt system, it’s essential to check the compatibility of your chosen sanitizer with the additional components you plan to incorporate. Some toothbrush sanitizers may have limited space or power constraints that could affect your project’s feasibility.
Is there a specific microcontroller you recommend for beginners?
For beginners, the Arduino Nano is an excellent choice due to its user-friendly interface and vast online support community. However, depending on your familiarity with electronics and coding, you can explore other microcontrollers that may offer more advanced features or customization options.
How can I ensure the safety of my DIY toothbrush sanitizer?
Safety is paramount when working with electronic components. Always disconnect power sources when making connections or adjustments, and avoid exposing sensitive parts to moisture. Additionally, ensure that your modifications do not interfere with the UV-C light’s operation, as it can be harmful to the eyes and skin.
Can I customize the sound prompt to play my favorite song?
Yes, you can customize the sound prompt to play your favorite tune. However, keep in mind that the memory and processing capabilities of the microcontroller may limit the length and complexity of the sound. Consider using short melodies or sound effects to ensure optimal performance.
What should I do if I encounter technical issues during the project?
If you encounter technical issues during your DIY project, don’t worry! Online communities and forums dedicated to DIY electronics and microcontroller projects can be valuable resources. You can seek advice, share your challenges, and find solutions from experienced enthusiasts who have encountered similar issues. Remember that troubleshooting is part of the learning process, and with perseverance, you can overcome any hurdles in your project.